
Sometimes it’s the simple things that make life enjoyable – like freshly popped popcorn, cooked on the stove-top on a summer afternoon! I have been loving making stove top popcorn. I used Coconut Oil one day and was impressed with the taste of the popcorn with just salt added. De-Li-Cious! (Not to mention that Coconut oil evidently has health & nutritional value.) I had usually made microwave popcorn as my go-to in life. It seemed the simplest, as stove-top appeared complex and tricky. Though I have a great popcorn machine that is easy to use, I just have to climb up in the laundry room shelves to get it out to use it. Which has been a barrier.
Stove top popcorn seems magical and classic but I was always intimidated. However, it is amazingly simple. The instructions are even written on the popcorn bag!
How to make it:
 You simply heat 3 Tbsp. oil. (I have been using Coconut Oil) in a large pot with a handle and lid on Medium/High heat. Place 3 corn kernels in the pot, cover with lid. Listen for those 3 to pop. When they do, the oil is ready. Add ½ cup of corn kernels to the hot oil. Cover with lid.
Move pan back and forth, around on the burner while it’s popping to prevent burning. You will hear the corn popping! If you have a glass lid, which I unfortunately don't, you can see it as well! When you begin to hear the popping slow down, remove from heat.
Pour in a bowl and sprinkle with salt and mix around with your hands to distribute.
Enjoy!
 We have savored many an afternoon snack of stovetop popcorn this summer. (And it costs pennies!)
For Kettle Corn- Follow the above listed steps but simply add 3 Tbsp. of sugar to the oil before popping into the hot oil and swirl it around to distribute it evenly amongst the kernels. Make sure you salt the popped corn well, as the salty/sweet combo is what makes it so super-delicious!


A while back I learned to cook it in the microwave. Shuck the corn and clean well.
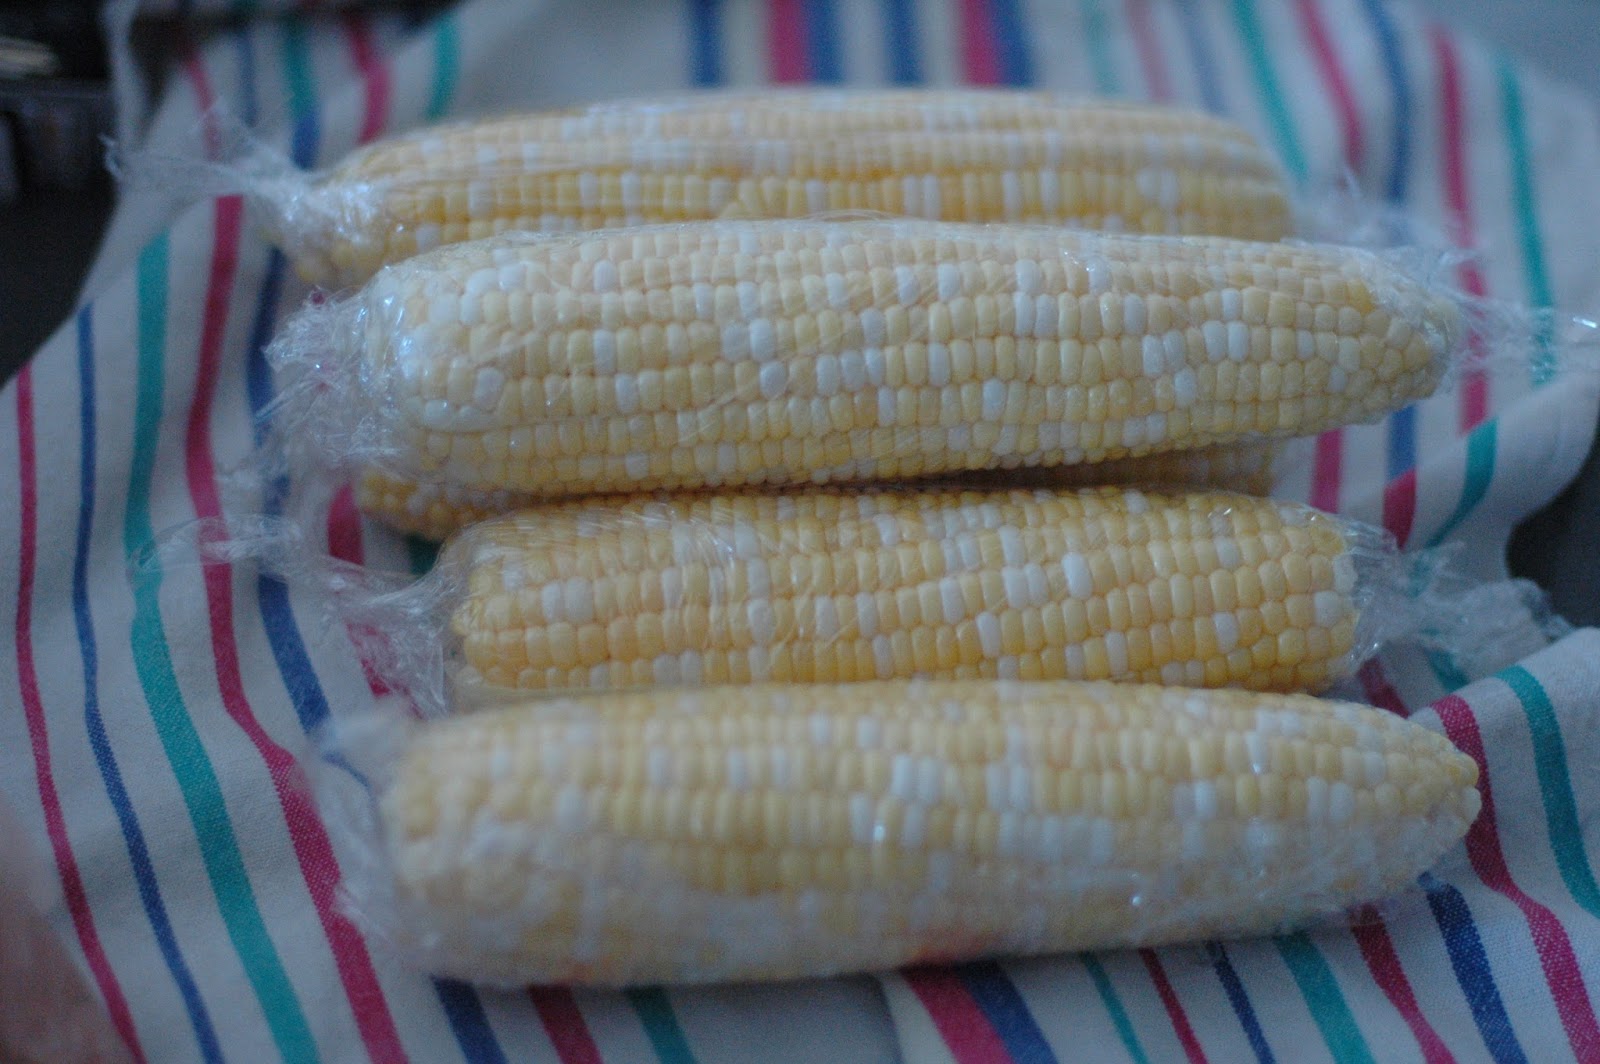
(My kids are usually willing to do this task). Then cut a piece of plastic wrap for each ear of corn and wrap each ear– making a little tassle on each end with a twist of the plastic wrap.

I have to tell you, at this point, that there is an incredible plastic wrap on the market. I felt sure that I had written about it before, but when I searched the blog I couldn’t’ find it. I apologize. I have been keeping it a secret unintentionally! STRETCH-TITE.
 Any of you who have been around my kitchen much at all, know about Stretch-Tite. It’s really pretty amazing. It is easy to work with, doesn’t fly about, sticking to itself. It is thick and
sturdy. The roll has a lot on it and
lasts a good long while. It creates a
strong seal on dishes. When my mom first
discovered it, it was at an appliance store.
She gave my sister and me each a roll of Stretch-Tite for Christmas. I am sure that first Christmas we were
curious, and less than enthusiastic about getting Plastic wrap in our
stockings. However, we were quickly
converted and it is now our annual tradition to get Stretch Tite for
Christmas. It's now available at some groceries, and CVS Pharmacy and Costco now distributes it with their storebrand name added. I have actually been known to
give it as a gift once in a while to a friend.
Any of you who have been around my kitchen much at all, know about Stretch-Tite. It’s really pretty amazing. It is easy to work with, doesn’t fly about, sticking to itself. It is thick and
sturdy. The roll has a lot on it and
lasts a good long while. It creates a
strong seal on dishes. When my mom first
discovered it, it was at an appliance store.
She gave my sister and me each a roll of Stretch-Tite for Christmas. I am sure that first Christmas we were
curious, and less than enthusiastic about getting Plastic wrap in our
stockings. However, we were quickly
converted and it is now our annual tradition to get Stretch Tite for
Christmas. It's now available at some groceries, and CVS Pharmacy and Costco now distributes it with their storebrand name added. I have actually been known to
give it as a gift once in a while to a friend.
(My kids are usually willing to do this task). Then cut a piece of plastic wrap for each ear of corn and wrap each ear– making a little tassle on each end with a twist of the plastic wrap.
I have to tell you, at this point, that there is an incredible plastic wrap on the market. I felt sure that I had written about it before, but when I searched the blog I couldn’t’ find it. I apologize. I have been keeping it a secret unintentionally! STRETCH-TITE.

After wrapping the corn (which you can do earlier in the day
to have it prepped and ready), Place ears of corn in the microwave and cook for
about 4 minutes per ear of corn. I usually
start with 8 minutes for my family of 5 and then check with my fingernail for doneness
and cook additional minutes as needed.
The challenge is that the steam inside the wrap is VERY hot – so you
have to be really careful. I pull the
plastic “tassles” at each end and tear off the wrap. It’s hot and ready to eat.
This week, as I was working on this post, I looked online to see if there was a consistent guide on number of minutes to cook corn in the microwave so I could give you a more specific instruction. I happened upon this YouTube video that astounded me! This dear man cooks corn on the cob in the husk in the microwave and not only does it cook it, the shucking is mess-free without silks everywhere. I tried it and it is really good. I don't know how many ears of corn would work in the oven at the same time, but I am wowed!
Try this switch: instead of microwaving your popcorn, try stove-top popping
and instead of stove-top boiling your corn on the cob, microwave it! And look for some Stretch-tite. It might change your life, and maybe even your Christmas shopping list!
The funny thing about stretch-tite... I use it every time we move. I wrap fragile home decor (including wall hangings) with it and then bubble wrap the edges. I also use it to wrap my upholstered head board. It's cheap, effective, and amazing at protecting our things! I used this method to move from VA to FL and then to IA. Stretch-tite hasn't let me down yet!!
ReplyDeleteI love your affirmation and endorsement of Stretch-tite. Such a great idea!
DeleteMy grandpa grows his own popping corn so it has been his long-standing family tradition to make popcorn Friday nights or if we happen to be together for something other than a holiday. Nothing tastes better than his stove popped popcorn!
ReplyDeleteWhat a great heritage! Any special tricks (other than home grown corn) that you recommend?
DeleteI have recently been introduced to all of these things and will never turn back! Thanks for sharing!
ReplyDeleteHi Julie! My name is Summer Maldonado and we recently hosted your husband here in Florida at Lakeside Fellowship Church. We want to say thank you for allowing us to have this opportunity in our ministry...His songs touched many! He also spoke very highly of your food blog and I'm so excited I found it. It love to cook/bake and learning new recipes!
ReplyDeleteBlessings to you and your family.
Summer, Thanks for writing! I'm sorry I am just replying...there has been something going on with my comments lately and I am just seeing your comment.
DeleteThank you for visiting cup-a cup-a. I hope you find some things you enjoy. Dave had a great time with your church. Thank you for welcoming him.