Showing posts with label snacks. Show all posts

Thursday, October 16, 2014

Frozen Fruit Salad and Pumpkin Seed Roasting: Childhood Memories


Aside from a few seasonal fruits, including apples (which I adore and eat daily) the upcoming months of fresh fruit options do not compare with the BOUNTIFUL VARIETY of summer fruits!  That's when it's time to get creative.
this Jell-O ad is reminiscent of our
grandmother's creations

Growing up,  my grandmother made the most creative and interesting frozen and congealed salads. Some were delicious.  Others were frightening.  My sister and I were often a tad fearful of some of her frozen and gelatin creations.

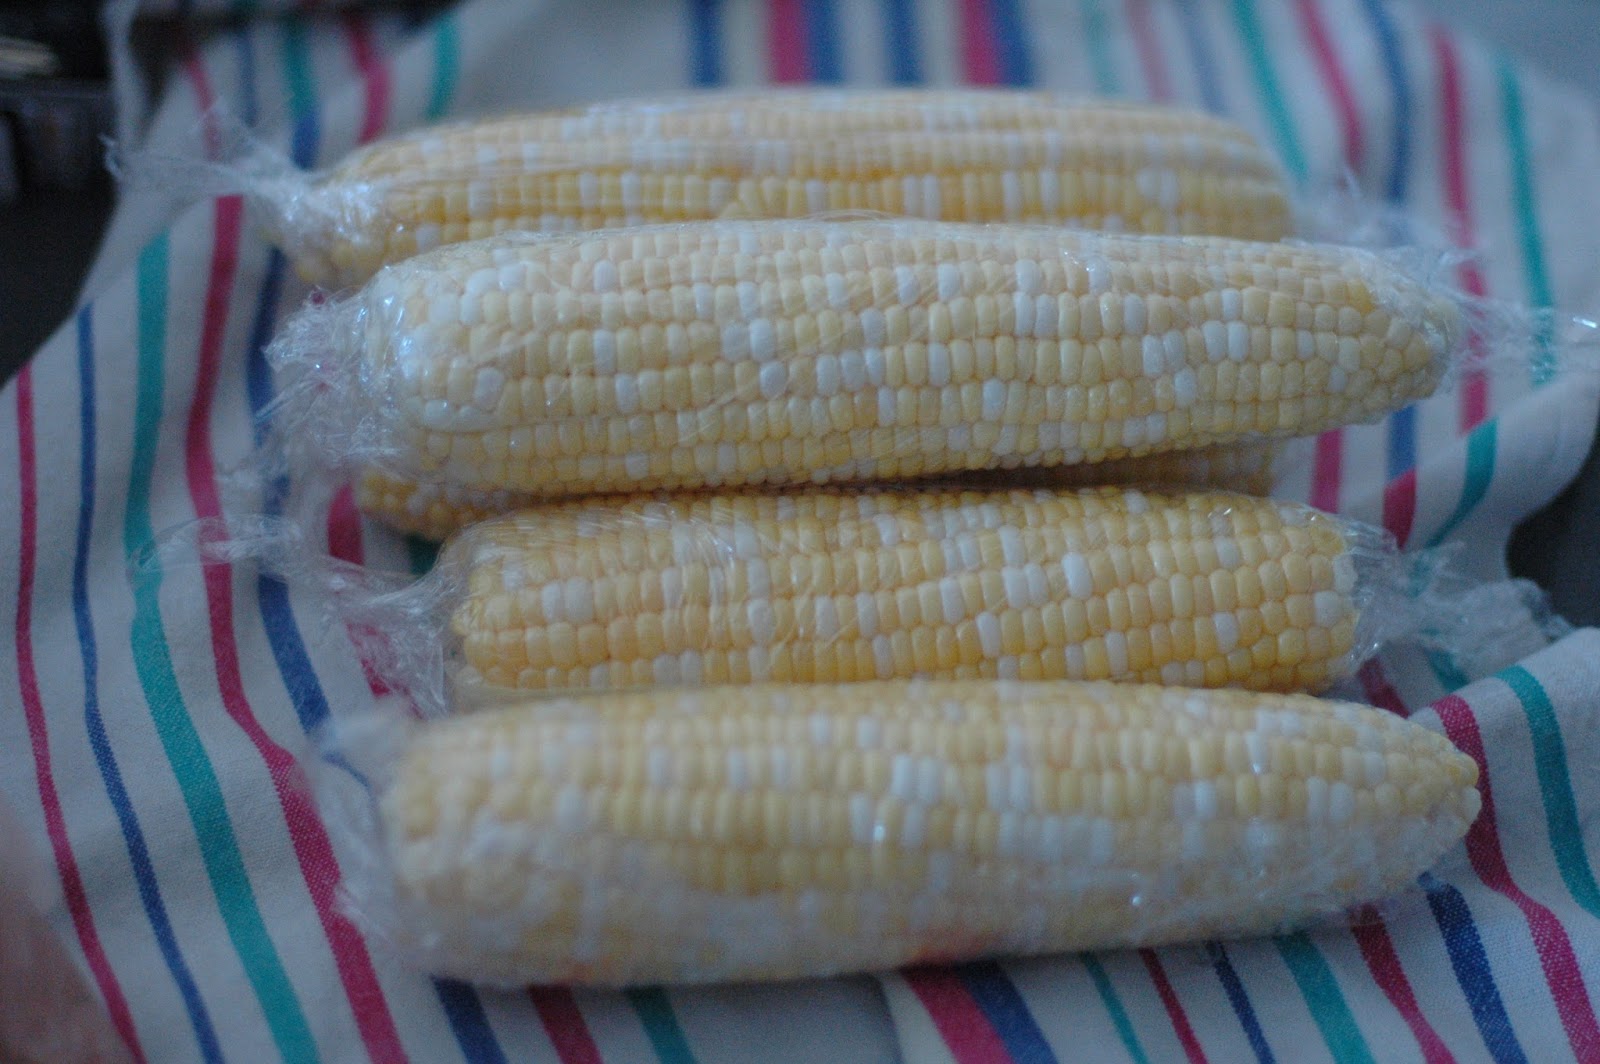
However, my mom made this Frozen Fruit Salad as a staple in our house and we loved it.  She froze it in various sized and shaped molds and kept it on-hand in the freezer.  It is great for breakfast, lunch and dinner.  It is made from all canned ingredients (aside from the bananas) so, it's a good fruit salad to keep in mind for the months when there are not many good fresh fruits to choose from.

We called it "F.F" for short and requested it frequently.  I even had a friend in High School who would ask my mom, when he came over with youth group pals, if we had any F.F.  It was famous.

Frozen Fruit Salad
1 large can frozen orange juice concentrate (12 oz) 
1 (orange juice) can of water
1 large can apricots
1 large can crushed pineapple
1/4 cup lemon juice
6 ripe (but not overly ripe) bananas


Mash bananas and put lemon juice over them. 
Mash apricots and add all over ingredients. 
Pour into muffin tins or individual molds. Freeze until solid.
Pop them out of the pans and place in large ziploc bags or plastic containers.
(If they don't easily come out, run a table knife around the edge and/or pour room temperature water over the back side of the pans. I flip muffin pans over on top of a baking sheet and pour water over, so that if one falls, it falls on the pan.) You can also use paper cupcake liners. 

Makes 30-32 cup cake sized cups. 


It's so simple and easy and is tangy and delicious.  I love that it has apricots in it- a fruit that is so delicious. (You can certainly alter the recipe anyway you would like.)
Here is the original recipe:

And speaking of foods from my childhood, we roasted pumpkin seeds this weekend. It's a childhood tradition that I have continued. When we carved a pumpkin at a neighborhood party last weekend, we scooped out the seeds and brought them home.  My kids were anxious to roast them and snack on them immediately. We decided to do 1/2 salty and 1/2 sweet.  (We all voted that we liked the salty best.)
I love that my kids know that if it's pumpkin carving time, then seed roasting is part of the fun.


1 1/2 cups pumpkin seeds
2 tablespoons melted butter (or olive oil)
2 teaspoon kosher salt
Preheat oven to 350°F.


Scoop out the inside of your pumpkin, and separate seeds from pulp. Don't worry if there's a little pulp left on the seeds when you roast them—it only adds flavor. Just remove the biggest pieces so that the seeds are easy to toss.


In a bowl, toss the seeds with the melted butter, coating thoroughly.  Add salt and seasonings.


Spread seeds in one even layer across a greased baking sheet (or you can use a cookie sheet covered in aluminum foil).


Bake for 30 minutes, or until the seeds are golden brown. Stir the seeds every so often while
they're baking, so that they toast evenly.


(For the sweet ones, we substituted cinnamon/sugar mixture for the salt.  It might have been better to put a little salt with the sweet ingredients). 


These next few months are a great chance to carry on a family tradition or try a new recipe!  It adds zest to life and gives us fun things to break up the sometimes mundane grind of life.


Wednesday, August 20, 2014

Hummus: Cracking the Code

                                                   
We play this game in my family, when we cook something that is pretty, or yummy, or special.  We say, "How much do you think this would cost at a restaurant?" And then we speculate about how much it might cost.  Sometimes we actually look up menus online to see what a similar meal out would cost. And then we discuss how much it probably cost to make it at home, which is usually a fraction of the price of buying it out.   

Or when we are at a restaurant eating something that we think we could make at home fairly easily, we then play the game in the opposite way. "I wonder how much it would cost to make this meal at home?", we might say.  And then we try to remember the details of the plate, meal, cookie, (fill in the blank)…so that we can go home and try to recreate it. 

I saw this sticker on a light post when I was in Washington D.C. last spring. 
It inspires me on those days that I don't want to cook.  
 Hummus is one of those things that I buy in a grocery, and buy in a restaurant and make at home. Though I have been making hummus for many years, I have never felt like my homemade hummus was equally as good as bought hummus- until this summer! I had hummus that a friend from church, Christi, made that was the great texture that store-bought has.  She gave me the recipe, which came from Cook's Illustrated  The Science of Good Cooking and gave her tips to me as well.  The trick to the texture is in dealing with the chick pea skin.  It is what can mess with the texture and make it chunky and/or mealy rather than smooth.  Baking soda is the remedy and I have explained in the recipe below how to deal with the skins when using canned beans as well as dried beans.

I have always had an internal conflict with the Tahini aspect of Hummus because it is the most expensive and only fatty part of the recipe.  I have made it without it at times.  However, I do think the Tahini is important- for texture and depth of flavor, but in my recipe I reduced the tahini drastically from the Cook's Illustrated proportions.

The garlic/lemon/spices/salt proportions are purely a matter of personal taste.  So, you will want to make it and then tweak it, taking notes as you do it, so that you find the right amounts for your liking.  (I wrote here about notating recipes.)


my motley taste testers
Another great thing about Hummus made at home is that you can tweak it to your liking.   Some like it zippier, with more lemon; or more garlicky; or herb-y.  We did a taste test at my house. And, as is typical in our home, there was diversity of opinions.  So we divided the hummus and seasoned a small batch of each.

the varieties they came up with :smoky paprika party; moving cumin;
and spicy red (with cayenne pepper)


Ultimate Hummus
adapted from The Science of Good Cooking
(Makes about 2 cups)

½ cup dried chick peas, picked over and rinsed
(¼ cup chick pea cooking water reserved from cooking them)
½ tsp. baking soda
4 Tbsp. lemon juice
2 Tbsp. tahini
2 Tbsp. olive oil
2 small garlic cloves, minced
½ tsp. salt
¼ tsp. ground cumin
pinch of cayenne pepper or smoked paprika (or more to your liking)
(optional- 1 Tbsp minced fresh cilantro, basil, parsley or roasted red pepper)

1. Place beans in a large bowl, cover with 1 quart water, and soak overnight.  Drain.  Bring 1 quart water, beans, and baking soda to a boil in large saucepan over high heat.  Reduce heat to low and simmer gently, stirring occasionally, until beans are tender, about 1 hour.  Drain, reserving ¼ cup bean cooking water, and cool.

2. Combine water & lemon juice in a small bowl or measuring cup.  Whisk together tahini &  2 Tbsp. oil in a second small bowl or measuring cup.

3. Process chickpeas, garlic, salt, cumin, and cayenne in food processor until almost fully ground, about 15 seconds.  Scrape down bowl with rubber spatula.  With processor running, add lemon juice mixture in a steady stream.  Scape down bowl and continue to process for 1 minute.  With processor running, add tahini mixture in steady stream; continue to process until hummus is smooth and creamy, about 15 seconds, scraping down bowl as needed. 
4.Taste and add more ingredients to your liking- lemon, garlic, tahini, salt, oil, or spices

5. Transfer hummus to serving bowl, top with a  sprinkle of paprika, cayenne, herbs and/or a drizzle of olive oil.  Serve. 

(Hummus can be refrigerated for up to a week.  When ready to serve, stir in 1 Tbsp. warm water if texture is too thick).


If you are making from canned chick peas:
Exchange:
1 can chick peas- drained and rinsed for the ½ cup of dried peas
¼ cup tap water to replace the “cooking water”
and 1 ½ tsp. baking soda for the ½ tsp.

And exchange step #1 with this step #1
1.     Drain can of beans.  Rinse and drain.  Place in a bowl.  Mix 1 ½ tsp. baking soda with beans and heat in microwave or in a pot on the stove until hot.  Pour into a bowl of water and rub chickpeas vigorously between your hands to get rid of most of the skins.  (They will easily come off and float to the top of the bowl of water – it’s pretty great. )
Change the water 3-4 times to remove all of the baking soda (or it will give a soapy taste).


This was the hummus dinner plate I made the other night.  A pile of greens, topped with sliced tomatoes, olives, feta, greek dressing and a portion of hummus - eaten with some crackers.  I think at Fido, a favorite eatery of ours, their Mediterranean salad, which is similar but with less veggies, is $6.99.   Which adds up when you add beverages and tip 
(and 5 people on the ticket).  Their veggies and hummus bowl is $5.99.  I estimate it costs about $2 to make a batch of hummus. 

P.S. A recent development: Asher, my "I hate beans" son, wrote on his student profile sheet for his new teacher- that his favorite snack was Hummus and Pita Chips.  I was astounded.  This is big y'all. 

Sunday, August 4, 2013

Corn: Popping and Shucking


Sometimes it’s the simple things that make life enjoyable – like freshly popped popcorn, cooked on the stove-top on a summer afternoon!  I have been loving making stove top popcorn.  I used Coconut Oil one day and was impressed with the taste of the popcorn with just salt added.  De-Li-Cious!  (Not to mention that Coconut oil evidently has health & nutritional value.)  I had usually made microwave popcorn as my go-to in life. It seemed the simplest, as stove-top appeared complex and tricky.  Though I have a great popcorn machine that is easy to use, I just have to climb up in the laundry room shelves to get it out to use it. Which has been a barrier.

Stove top popcorn seems magical and classic but I was always intimidated. However, it is amazingly simple.  The instructions are even written on the popcorn bag!


How to make it:
You simply heat 3 Tbsp. oil.  (I have been using Coconut Oil) in a large pot with a handle and lid on Medium/High heat. Place 3 corn kernels in the pot, cover with lid. Listen for those 3 to pop.  When they do, the oil is ready.  Add ½ cup of corn kernels to the hot oil.  Cover with lid. 
Move pan back and forth, around on the burner while it’s popping to prevent burning.  You will hear the corn popping!  If you have a glass lid, which I unfortunately don't, you can see it as well!  When you begin to hear the popping slow down, remove from heat. 

Pour in a bowl and sprinkle with salt and mix around with your hands to distribute.
Enjoy!
We have savored many an afternoon snack of stovetop popcorn this summer. (And it costs pennies!)

For Kettle Corn- Follow the above listed steps but simply add 3 Tbsp. of sugar to the oil before popping into the hot oil and swirl it around to distribute it evenly amongst the kernels.  Make sure you salt the popped corn well, as the salty/sweet combo is what makes it so super-delicious!


Another trick that we like in the summertime is cooking corn on the cob in the microwave.  I have a few complaints about cooking it in a pot of water (the way I traditionally think of cooking corn).  1.  I feel like all the nutrients are being swallowed up by the water, and the corn is left soggy. 2. You have to have a really big pot to fit a bunch of ears of corn in.  3. It takes forever to get an enormous pot of water to boil!  (And a watched pot never boils, I have found to be true).

A while back I learned to cook it in the microwave.  Shuck the corn and clean well.

(My kids are usually willing to do this task).  Then cut a piece of plastic wrap for each ear of corn and wrap each ear– making a little tassle on each end with a twist of the plastic wrap.

I have to tell you, at this point, that there is an incredible plastic wrap on the market.  I felt sure that I had written about it before, but when I searched the blog I couldn’t’ find it.  I apologize.  I have been keeping it a secret unintentionally!  STRETCH-TITE
Any of you who have been around my kitchen much at all,  know about Stretch-Tite.  It’s really pretty amazing.  It is easy to work with, doesn’t fly about, sticking to itself.  It is thick and sturdy.  The roll has a lot on it and lasts a good long while.  It creates a strong seal on dishes.  When my mom first discovered it, it was at an appliance store.  She gave my sister and me each a roll of Stretch-Tite for Christmas.  I am sure that first Christmas we were curious, and less than enthusiastic about getting Plastic wrap in our stockings.  However, we were quickly converted and it is now our annual tradition to get Stretch Tite for Christmas.  It's now available at some groceries, and CVS Pharmacy and Costco now distributes it with their storebrand name added. I have actually been known to give it as a gift once in a while to a friend.

After wrapping the corn (which you can do earlier in the day to have it prepped and ready), Place ears of corn in the microwave and cook for about 4 minutes per ear of corn.  I usually start with 8 minutes for my family of 5 and then check with my fingernail for doneness and cook additional minutes as needed.  The challenge is that the steam inside the wrap is VERY hot – so you have to be really careful.  I pull the plastic “tassles” at each end and tear off the wrap.  It’s hot and ready to eat.


This week, as I was working on this post, I looked online to see if there was a consistent guide on number of minutes to cook corn in the microwave so I could give you a more specific instruction.  I happened upon this YouTube video that astounded me! This dear man cooks corn on the cob in the husk in the microwave and not only does it cook it, the shucking is mess-free without silks everywhere. I tried it and it is really good.  I don't know how many ears of corn would work in the oven at the same time, but I am wowed!


Try this switch: instead of microwaving your popcorn, try stove-top popping
and instead of stove-top boiling your corn on the cob, microwave it!  And look for some Stretch-tite.  It might change your life, and maybe even your Christmas shopping list! 


Thursday, July 4, 2013

Eating our Greens (and lots of Ice Cream)


In enjoyment of the produce of summertime, and to offset the junk food that is inherent in summer eating, I have been cooking lots of veggie-driven meals.  Corn on the cob, tomatoes, cucumbers, green beans, zucchini and melons have played a leading role our table.


Kale is one of the “super foods” I have been playing around with in the kitchen as well.  


My friend Melissa mentioned this Kale Salad that she makes and I tried the recipe. It is super simple and just what I want for a summer lunch.  I have been craving it so much that I have made it 4 times in the last few weeks!  I also think it’s great as a side with a piece of grilled chicken or fish for dinner.  One day I stirred in chunks of grilled chicken and feta and had a meal in a bowl.


Here's how simple it is:


Chop about 6 cups of Kale in the food processor until it is fairly finely chopped


add 1 cup cooked quinoa

and 1/2 cup toasted slivered almonds


and 1/2 cup dried cranberries
Toss all of these together.


In a measuring cup make the dressing: 1/4 cup olive oil, 1/4 cup lemon juice, and a pinch of coarse salt and ground pepper.  

MIx well and pour over the salad, stirring and adding as much as needed.

ENJOY!

It keeps well in the fridge for a few days.
Feel free to tweak the recipe as you like, putting more or less (or different ingredients) to make it the taste that you like.

The other thing we like to make with kale is Kale Chips.

They are one of my 9 year old's favorite treats. They are simple to make and are a tasty way to “eat your greens”.  I follow Smitten Kitchen’s recipe. So simple and yummy.


Smoothies are another almost daily request in our home and to get some good spinach nutrients into my kids, our featured smoothie has been the SNOT smoothie.  (Aptly named for the beautiful green color. I usually give a big, dramatic "Ahhhhhhhh Choo!" as I am about to plunge the straws in to serve the smoothies to my gang!)

The smoothies contain: fresh spinach, frozen bananas, frozen mango and vanilla yogurt.  If it’s too thick to blend, I add some cold water to thin it.  They are so delicious and beautiful too. (Much more beautiful than snot).

Another healthy thing we are trying
to make sure we add to our "diet" is SMILING!


I saw this message at the Frothy Monkey a couple of weeks ago and had to take a photo to hold onto this reminder!

And in case you think we are super-food, super-healthy all the time, DO NOT BE DECEIVED! We have been eating lots of tacos and guacamole, burgers, egg and cheese wraps, and we have been eating our fair share of ice cream.

Blue Bell Ice Cream has been on sale at the grocery, so of course we have had to get it!

And we have been making floats- rootbeer/vanilla ice cream; and Sprite/rainbow sherbet - a family tradition in my growing-up-home.


And we finally took our kids to Jeni’s Splendid Ice Cream for the first time.
(We had been holding out because it is the cost of a meal for our family to each get a small ice cream there.)  But as a prize for their summer rewards plan, we did it.  
YUM! Buttermilk Strawberry, Salty Caramel, Chamomile, Toasted Coconut, Milkiest Chocolate in the World, Brambleberry Crisp... this is some splendid ice cream!


Hoping your summer is filled with some farm-fresh produce as well some sweet treats!